Receiving a new wire labeling machine is an exciting moment for any business that requires high-efficiency wire labeling capabilities. Whether it’s for electrical installations, manufacturing, or telecommunications, the right equipment can streamline your operations and enhance productivity.
However, before you dive into harnessing the power of your new machine, there are critical steps you need to follow to ensure it operates smoothly and efficiently. From unpacking the box with care to setting up and preparing the machine for its first use, each step is vital to avoid any operational hiccups.
In this guide, we’ll walk you through the essential procedures to get your wire labeling machine up and running. By following these guidelines, you’ll ensure that your machine is set up correctly, operating at its best, and ready to tackle the tasks at hand.

Unpacking Your Wire Labeling Machine
Unpacking a new piece of equipment can be thrilling, but it’s crucial to proceed with caution to avoid any damage. The first step is to carefully remove the wooden box packaging. This not only protects the machine during transportation but also signifies the first layer of protection against external elements.
Once the wooden box is removed, the next step is to peel off the protective film wrapped around the machine. This film serves as a barrier against scratches and dust, ensuring that the machine reaches you in pristine condition. As you uncover your machine, keep an eye out for any accompanying parts, labels, and documentation. It’s essential to count and check these items against the packing list to ensure that nothing is missing or overlooked.
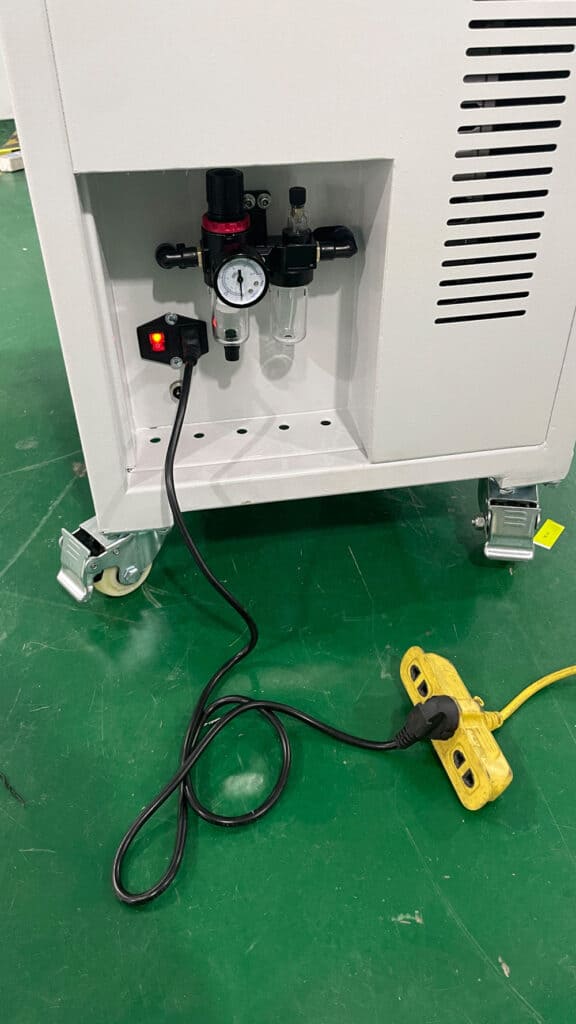
After successfully unveiling the machine, attention must be turned to its placement. The equipment comes with 4 casters at the bottom, making it convenient to move to the designated location. However, it’s important to open the brakes on these casters before attempting to move the machine. Once in position, securing the machine is as simple as engaging the brakes, ensuring it remains fixed in the desired spot. This not only aids in the stability of the machine but also in the safety of its operation.

Inspecting the Wire Labeling Machine
Upon unpacking your machine, the next crucial step is to conduct a thorough inspection. This process involves checking for any potential damage that might have occurred during transportation. Look for any signs of impact or scratches that could affect the machine’s functionality.
Additionally, it’s vital to ensure that all screws on the equipment are tightened and secure. Loose screws can lead to operational issues or even safety hazards during use.
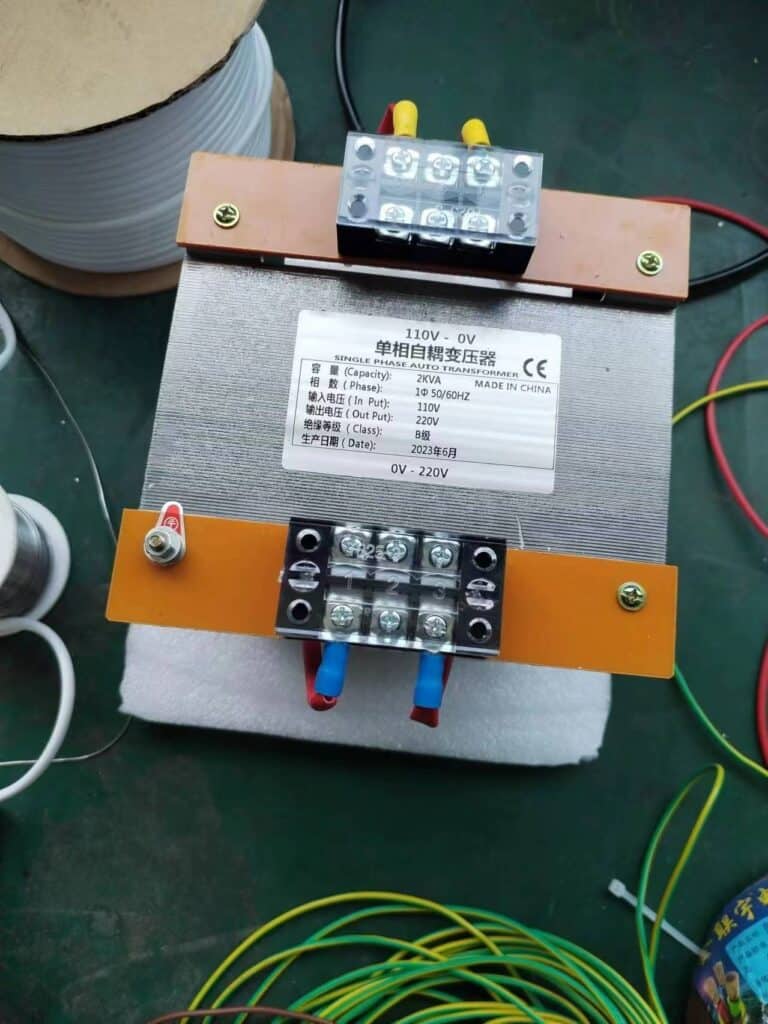
Another key aspect of the inspection is verifying the voltage compatibility of the machine with your national voltage standards. This is crucial to prevent any electrical mishaps or damage to the machine. Furthermore, the machine requires a specific air pressure to function correctly – at least 0.6MPa. Ensuring that your air supply meets this requirement is essential for the machine’s operation and longevity.

Turning On the Power
Once you’ve confirmed that the machine is undamaged, all screws are tight, and the voltage matches your country’s standards, you’re ready to power it up. This step requires caution to ensure safety and prevent any electrical issues.
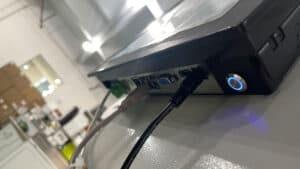
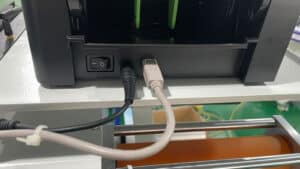
Before flipping the switch, double-check that the equipment’s voltage settings are indeed in alignment with your local power supply. If your machine comes with a printing system, remember to turn on the printer switch as well. Additionally, activating the human-machine interface switch is necessary for operational control and to begin setup or calibration processes.


Connecting the Gas Source
For wire labeling machines that operate with pneumatic components, connecting the gas source is a pivotal step. Before establishing this connection, verify that your gas supply can consistently provide at least 0.6MPa of pressure.
This ensures that the machine can perform its functions without any hitches. Properly connecting the gas source according to the manufacturer’s instructions is crucial for the safety and efficiency of the machine.
Fixing the Equipment in Place
After the machine has been successfully placed in its designated location, it’s essential to ensure it remains stationary during operation. This is where the brakes on the 4 casters come into play.
By engaging these brakes, you secure the machine, preventing any unintended movement that could disrupt its functioning or pose safety risks. Ensuring the equipment is fixed in place also aids in maintaining accuracy during the labeling process, resulting in higher quality outcomes.

Conclusion
Setting up your new wire labeling machine involves more than just plugging it in and starting your operations. By following the outlined steps—unpacking, inspecting, powering, connecting the gas source, and securing the machine—you ensure its longevity, safety, and efficiency.
Taking the time to properly set up your machine not only safeguards your investment but also enhances your operational capabilities, allowing you to achieve the best possible results from your wire labeling tasks.
You may be interested:
- Introduction to the Packaging Process of Wire Labeling Machines
- Top 10 Knowledge You Should Know About Wine Bottle Labeling Machine
- How Does a Flat Labeling Machine Apply Labels Multiple Times on a Tabletop?
- How does a blister packaging machine improve efficiency in the pharmaceutical sector?


